This is the best guide you can find on the internet on how to organize your toolbox. If you’ve ever spent several minutes digging through your own toolbox looking for something you know you own but can’t find in time, this guide was written for you.
What You’ll Need
You want everything ready before you begin. Here are the things you need for a smooth process:
- A flat surface: your garage floor, a workbench, even the driveway. You need somewhere to spread everything out and actually see what you’re working with.
- A trash bag: for broken tools, dead batteries, and random junk that somehow made it in there.
- A rag or shop towel: wipe the drawers down before tools go back in. It takes 30 seconds, and it makes a difference.
- A marker: for quick, temporary grouping labels as you sort things out.
- Drawer liners (optional): foam or rubber liners prevent tools from sliding around when you open a drawer. Not essential but genuinely helpful.
- Toolbox labels: We’ll get into this properly in Step 6. If you want to get ahead of it, here’s a full breakdown of which toolbox labels are actually worth buying before you commit to anything.
Time Required:
(1 – 2 hours). Depending on the size of your toolbox and how bad things have gotten. Don’t rush it. Rushing is how you end up just reshuffling the same mess into slightly cleaner piles.
How to Organize Your Toolbox Step by Step
Step 1: Pull Everything Out
Pull all the drawers, every tray, every mystery item in the back corner.
This marks the first step in organizing your tool. The reason most toolbox organization attempts fail is that people try to tidy things up in place, moving stuff around without ever actually clearing the slate. At the end, you will end up with the same chaos.
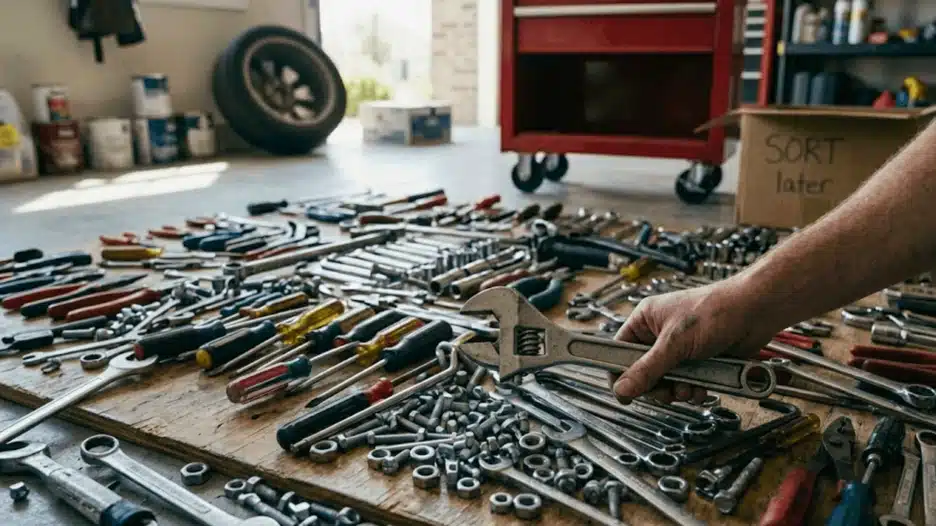
The only way to know what you’re working with is to get it all out on a flat surface at once. As you pull things out, drop them loosely into rough groups. Screwdrivers here, wrenches there, a pile of “I’ll figure this out later” stuff off to the side.
Don’t overthink the sorting yet. Just get it all out.
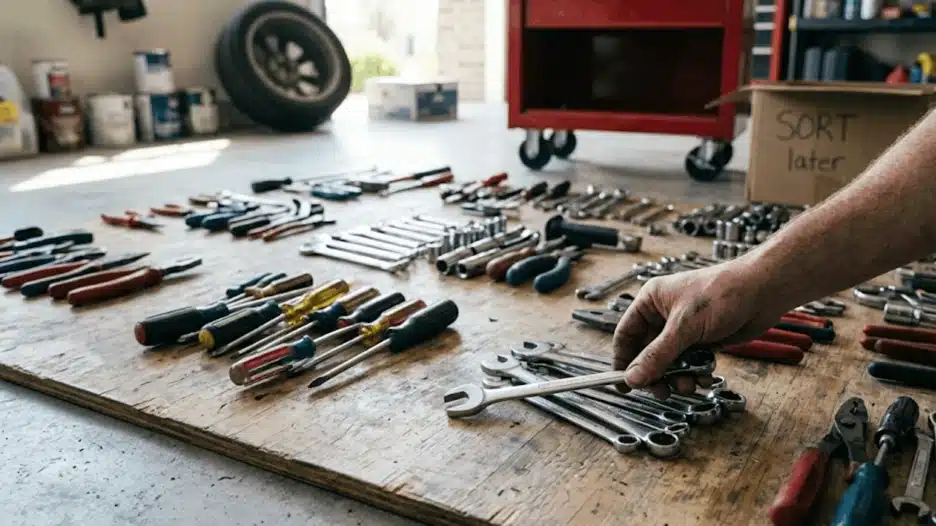
Step 2: Sort Your Tools Into Categories
Now you actually look at what you have. Before you decide where things go, you need to decide what things are.
Here’s a general starting point:
- Screwdrivers (flathead, Phillips, precision)
- Wrenches (combination, adjustable, torque)
- Sockets and ratchets
- Pliers (standard, needle-nose, locking)
- Hammers and mallets
- Measuring tools (tape measure, levels, calipers)
- Cutting tools (utility knife, snips, chisels)
- Electrical tools (multimeter, wire strippers, voltage tester)
- Specialty or miscellaneous tools
However, don’t just copy that list. Build your categories around how you actually work. If you’re mostly doing car work, sockets and ratchets are probably your daily tools.
If you’re doing home repairs, screwdrivers and measuring tools are probably in your hands more than anything else. The best way to organize a toolbox is to mirror your actual workflow, not someone else’s.
Step 3: Decide What Stays and What Goes
Go through each pile and ask yourself: “Do I actually use this? Is it in working condition? Do I even know what it does?”
If a tool is broken, bent, or something you genuinely haven’t touched in years, and you can’t picture a situation where you would need it. Throw it out or donate it. You want to keep them somewhere else since you don’t need them in the toolbox.
The purpose of doing this is not to fit everything you own into one box, but to build a working system with the tools that actually earn their spot. A leaner toolbox is always more functional.
Step 4: Map Out the Drawer Layout Before You Put Anything Back
Take two minutes to plan and decide which category lives where. The rule is simple. The more often you use something, the closer it should be to your hands.
Here’s how that plays out:
- Top drawer or tray: Your daily tools. The screwdrivers, the tape measure, and the pliers you grab without thinking. Fast access, no digging.
- Middle drawers: Regular-use categories. One drawer per category. wrenches in one, sockets and ratchets in another, pliers and clamps in the next.
- Bottom drawers: Heavier or less-used tools. Hammers, specialty tools, extension bars, things you need occasionally but not every day.
If your toolbox has a top tray, only your most-reached-for tools earn that spot.
This kind of intentional mapping is what separates a toolbox that stays organized from one that holds together for a week before slowly getting disorganized.
Step 5: Load Everything Back In
Now you can actually put things back. One category per drawer, following the layout you just planned.
If you have foam inserts or rubber liners, drop those in first. They prevent tools from sliding and clanging around whenever a drawer opens, and they keep things roughly where you placed them.
However, if you have no liner, that’s fine. A clean, empty drawer works perfectly as well. You can always add liners later.
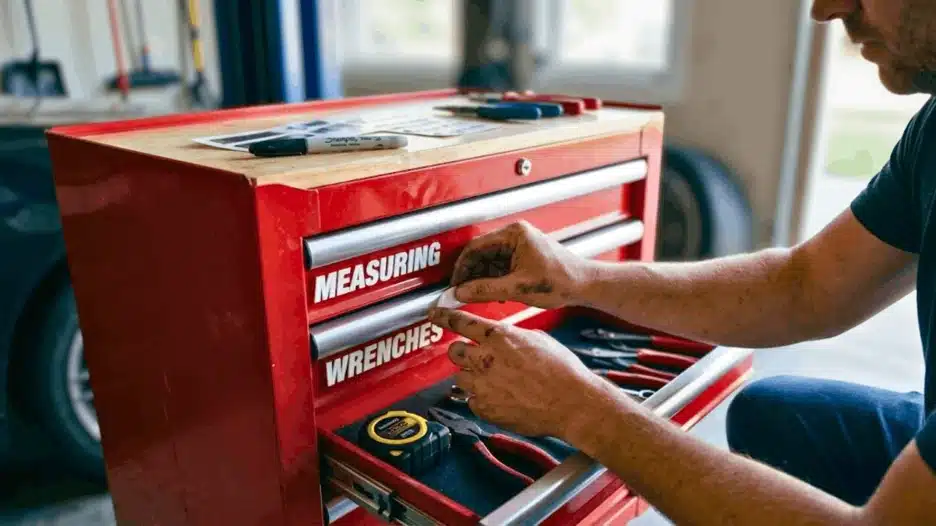
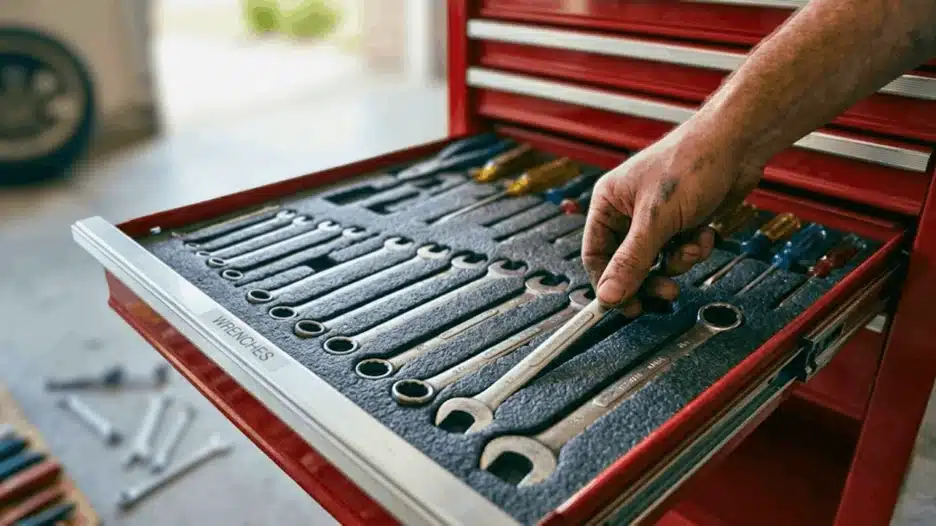
Step 6: Label Every Single Drawer
This is the step that actually makes the whole system stick. Here’s what happens without labels. You organize everything perfectly, it looks great, and you feel good about it.
Then two weeks later, someone else gets into your toolbox, or you go into it tired after a long day, and tools start landing in random drawers. A month later, it looks exactly the same as before you started.
You should avoid that from happening.
Labels kill that problem. When every drawer clearly says what’s in it, there’s no ambiguity. Anyone who opens that toolbox knows where things go back. Including you at 9pm when you’re exhausted and just want to put the wrench away and go inside.
The method and material you use for labeling matters more than most people think. You want something that holds up to grease, heat, and vibration without peeling off after a couple of months.
This guide on how to label toolbox drawers the right way walks through the exact process and what to avoid.
If you want a clean, professional finish without a lot of fuss, printed magnetic labels are genuinely one of the smartest options available. They’re repositionable, so if you ever shuffle a drawer around, you just move the label.
With the printed magnetic label, you do not have to worry about adhesive residue, peeling corners, or a mess. You can see exactly why they work so well in this post on how printed magnetic labels can fix a messy toolbox.
Step 7: Maintain the System
Getting organized is honestly the easier half of this. Staying organized is where most people slip.
Here are the 3 habits that will help you maintain the system:
Put tools back right after you use them. Not after the job. Not at the end of the day. Right after. It takes three seconds, and it’s the single most effective way to keep a toolbox organized long-term. Every time you tell yourself, “I’ll put it back later,” that’s how the pile starts.
Do a five-minute reset once a week. Open each drawer, scan it, and put back anything that drifts. If something doesn’t have a home, either give it one or decide it doesn’t belong in the toolbox.
Don’t let the toolbox become a storage unit. A bag of random bolts, a zip tie, somebody’s pen, things creep in. If it’s not a tool, it shouldn’t live in the drawers.
If you have more tools spread around your garage beyond just the toolbox, the same thinking applies when organizing garage tools more broadly.
One place for everything, labels on everything, and a habit of returning things where they came from. The system only works if you actually use it.
Summary
If you take nothing else away from this, take these five things:
- Empty everything out before you do anything
- Sort by how you actually work, not a generic list
- Map your drawer layout before you load anything back in.
- Label every drawer; it’s what makes the whole thing last.
- Put tools back immediately, every single time.
A well-organized toolbox begins with a small habit. But once you’ve built the system properly, with smart categories, intentional drawer placement, and labels that actually stay on, that habit becomes almost automatic.
Everything has a home. Putting all of your tools back is just as easy as picking them up.
Want to go deeper on the labeling side of things? Start with our guide on labeling toolbox drawers properly. It covers everything from the best materials to the exact placement approach that holds up over time.