Tool box decals can add your name, display a shop logo, or turn a plain tool chest into a personalized garage setup. The best option depends on the look you want, your toolbox finish, and whether you plan to move or replace the design later.
Choose vinyl lettering for names and simple graphics, printed stickers for colourful artwork, and replacement emblems for a factory-style badge. If you want removable drawer identification, magnetic toolbox labels are another option, but they require a surface that attracts magnets.
Use this comparison to narrow down your choice before ordering.
| Option | Best for | What to check |
|---|---|---|
| Vinyl lettering and decals | Names, shop logos, stripes, and custom graphics | Surface compatibility, dimensions, and adhesive type |
| Printed toolbox stickers | Colourful artwork, brand collections, and small designs | Material, protective finish, and cleaning instructions |
| Toolbox emblems | Replacing a missing badge or adding a raised detail | Dimensions and mounting method |
| Magnetic drawer labels | Custom drawer names you can reposition | Magnetic compatibility and available flat space |
Decals and stickers are overlapping terms, so judge the actual material and construction rather than the product name alone. A vinyl sticker with a suitable adhesive may be a better match for your toolbox than a product simply advertised as a “heavy-duty decal.”
Vinyl Toolbox Decals
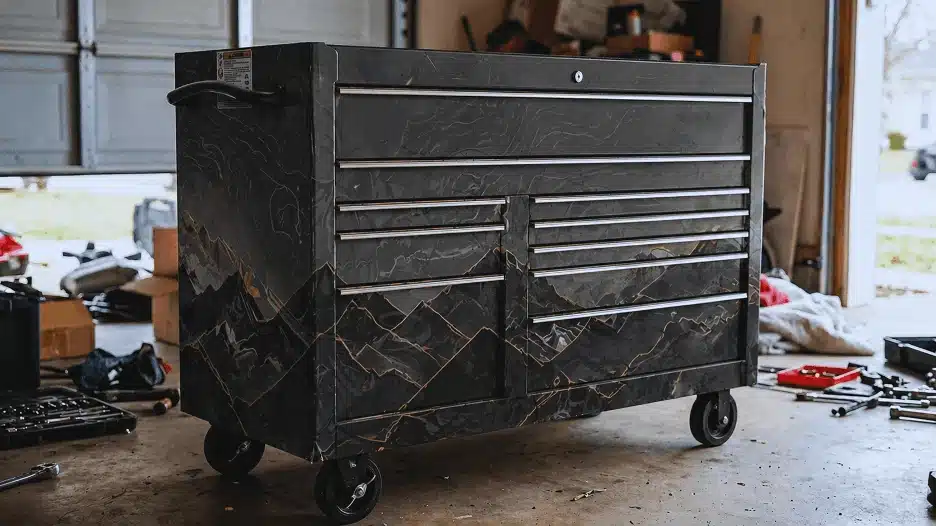
Vinyl toolbox decals work well for custom names, shop logos, racing stripes, and larger decorative graphics. You can use one design on a side panel or coordinate smaller graphics across a tool chest and matching cart.
For lettering without a visible background, look for cut vinyl supplied with transfer tape. For detailed illustrations or multicolour artwork, look for printed vinyl and check whether it includes a protective laminate.
Before ordering, measure the usable panel space. Keep the design clear of drawer gaps, locks, handles, and existing safety information. A decal that fits the overall cabinet dimensions may still cross moving parts or sit over an awkward ridge.
Surface compatibility matters as much as appearance. Smooth paint, textured powder coating, and plastic can require different adhesives. Tell the supplier what finish you have and ask whether the specific decal is suitable.
For a flat toolbox panel, do not assume the most expensive vinyl is automatically necessary. Choose the film, adhesive, and protective finish for the surface and conditions where the toolbox will be used.
Best for: Custom lettering and graphics that become part of the toolbox’s appearance.
Main limitation: Removal and repositioning depend on the adhesive, finish condition, and time in service.
Toolbox Stickers
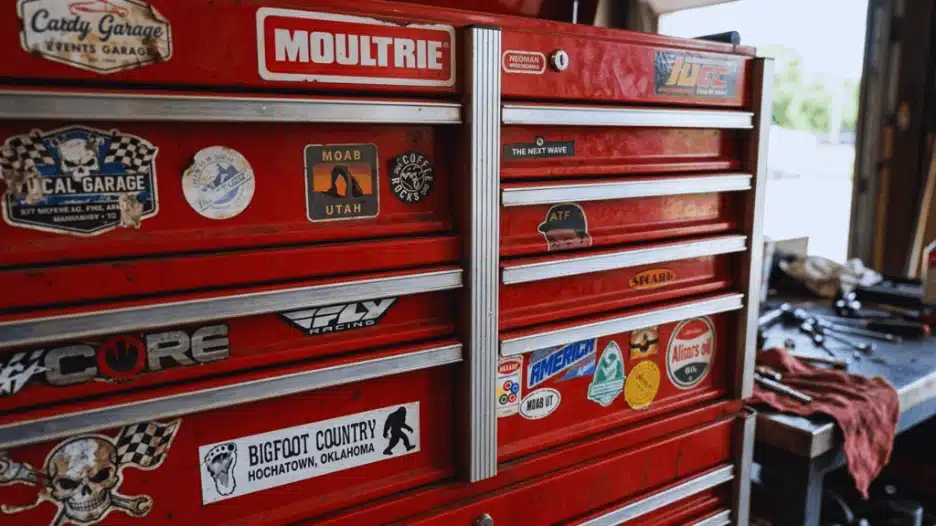
Toolbox stickers are a flexible way to add automotive artwork, favourite brands, workshop humour, or personal interests to your setup. You can create a collected look over time or choose a matching set for a more consistent theme.
Material matters more than the word “sticker.” Paper stickers and vinyl stickers are not interchangeable, and protection against water does not automatically mean resistance to workshop cleaners, oil, or abrasion.
Check the supplier’s material description, care instructions, and intended use. For areas exposed to frequent handling, ask about a protective laminate and compatibility with the cleaners you normally use.
Plan the arrangement before peeling the backing. Position larger designs first, leave space around handles and locks, and decide whether you want a neat grid or an overlapping collage.
Stickers can also serve a practical purpose. Custom name stickers can identify the owner, while printed drawer labels can show where sockets, wrenches, and other tools belong.
Best for: Small graphics, brand collections, and personal designs.
Main limitation: Durability varies by product, and adhesive stickers are not necessarily reusable after removal.
Toolbox Emblems
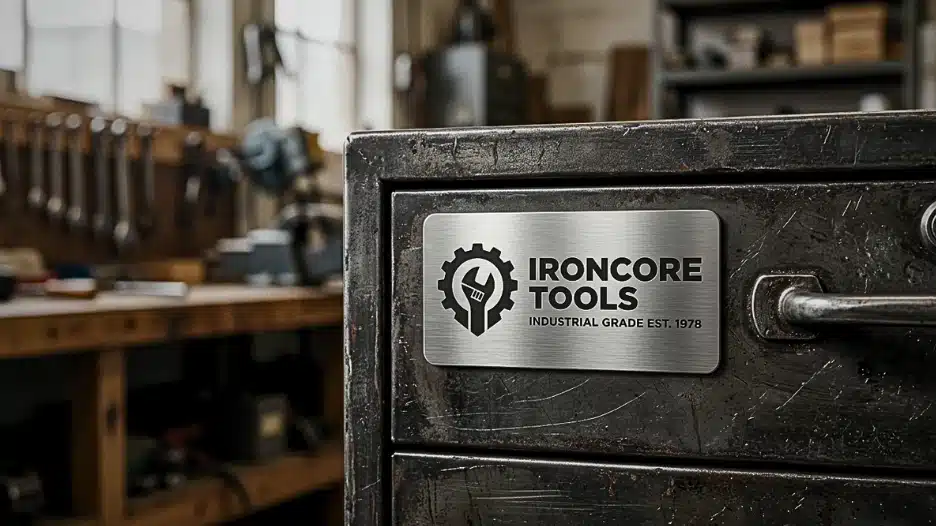
Toolbox emblems give a chest a raised badge rather than a flat graphic. They are useful when restoring a toolbox with a missing logo or replacing an emblem that has become damaged.
Before buying a replacement, compare its width, height, and mounting method with the original. Depending on the design, an emblem may use adhesive backing, mounting pins, clips, or fasteners. A badge advertised for the same brand may not fit every toolbox model.
If you want a factory-style restoration, check the manufacturer or an authorised parts supplier first. For an aftermarket emblem, review the dimensions and attachment instructions rather than relying on the listing photo.
Best for: Replacing a badge or adding a raised decorative detail.
Main limitation: Fit and installation are specific to the emblem; some replacements require more work than applying a sticker.
Custom Magnetic Toolbox Labels
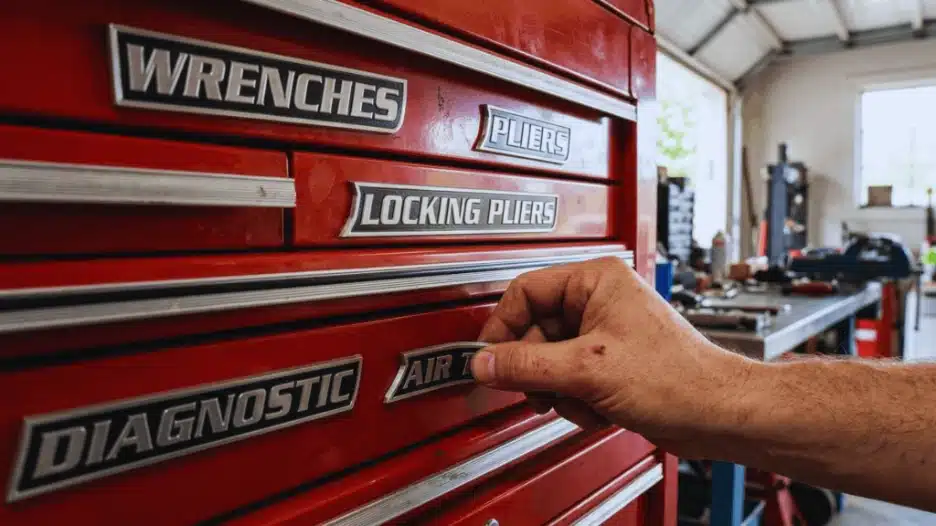
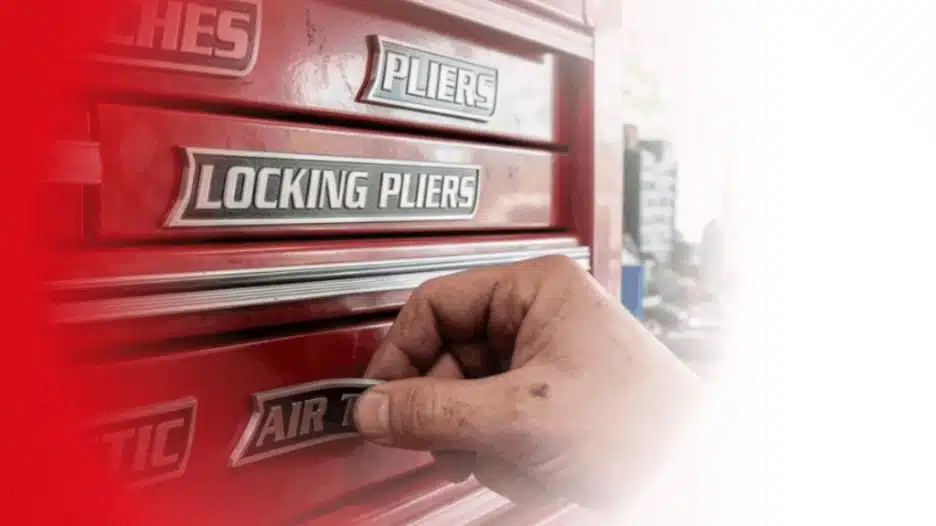
Magnetic toolbox labels are an alternative to adhesive drawer decals when you want wording that can move with your storage layout. They are especially useful if you regularly reorganize tools or want matching drawer names across a cabinet.
Our Custom Magnetic Toolbox Drawer Labels come in a set of eight with individually personalized wording. They are made in Canada from PLA with neodymium magnets, with a choice of fonts and contrasting colours.
Use names that match how you store your tools, such as “Metric Sockets,” “Wrenches,” “Pliers,” or “Electrical.” Keeping the font and colour combination consistent can make the drawers look coordinated while helping you identify their contents.
Check the mounting surface before ordering. Magnetic labels will not attach directly to aluminium, plastic, or non-magnetic stainless steel. Test the exact drawer area with a magnet and compare the available flat space with the label dimensions.
Magnetic attachment avoids adhesive residue, but keep the label and drawer surface clean. Lift labels to reposition them rather than dragging trapped grit across the finish.
Best for: Reusable drawer identification with custom text.
Main limitation: These are drawer labels, not a substitute for full-colour artwork or a toolbox wrap.
Tool Box Decals vs. Magnetic Labels: Which Should You Choose?
Choose adhesive decals when you want a graphic, name, or logo in a particular position on your toolbox. Choose magnetic labels when you want drawer names that can move whenever you reorganize.
Both options can provide identification. The main differences are how they attach, which surfaces they suit, and how easily you can change the layout.
A toolbox with aluminium or plastic panels may need an adhesive product specifically suited to that surface. A compatible steel drawer front gives you the option of magnetic attachment.
You can also combine them: use a decorative decal on the side of the chest and removable labels on the drawers. That lets you personalize the outside while keeping your storage categories easy to update.
For a closer comparison of drawer identification options, see our Toolbox Labels Guide.
Custom Tool Box Decal Ideas for Your Setup
Choose a design around the space available and the look you want:
- Your name or initials: A simple option for identifying your toolbox in a shared workspace.
- A shop logo: Place it on a broad, uninterrupted panel where the complete design remains visible.
- Matching stripes: Coordinate a tool chest and cart with the same colour and stripe placement.
- Automotive artwork: Reserve a side panel or lid for a larger design rather than squeezing it between drawer handles.
- A sticker collection: Group smaller graphics on one panel if you want to keep the drawer fronts visually simple.
- Coordinated drawer names: Match label colours and fonts while keeping the wording easy to read.
Before ordering a custom design, make a paper template at the proposed size and hold it against the toolbox. Check the layout with drawers and doors both open and closed. Review spelling and the artwork proof before approving production.
How to Apply Tool Box Decals
Follow the instructions supplied with your specific decal. Transfer lettering, printed stickers, and large graphics can require different installation methods.
- Check the surface. Confirm the decal is suitable for your toolbox finish. Avoid applying over loose paint, rust, or damaged coating.
- Plan the position. Measure and align the graphic before removing the backing. Keep it clear of moving joints, locks, handles, and safety labels.
- Clean appropriately. Use a cleaning method approved for both the toolbox finish and the decal. Remove dirt and grease, then let the surface dry.
- Check application conditions. Follow the supplier’s temperature requirements. Do not assume cold garage conditions are suitable.
- Apply as directed. Use the recommended technique and applicator. Only use a wet application method if the manufacturer specifically allows it.
- Allow the adhesive to bond. Follow the stated waiting period before washing or exposing the graphic to cleaners.
For textured powder coating, ask the supplier about compatibility before purchasing. A different adhesive may be needed; pressing harder will not make an unsuitable product reliable.
Verdict: Choose the Option That Fits Your Goal
For custom names and shop logos, start with vinyl lettering or printed decals suited to your toolbox finish. For smaller decorative designs, compare vinyl stickers by material and protective finish. For a missing factory badge, look for an emblem with the correct dimensions and mounting method.
If your priority is clear drawer identification that you can rearrange, consider magnetic labels on compatible drawer fronts.
You do not need to choose one method for the entire toolbox. A side-panel graphic, a replacement emblem, and coordinated drawer labels can each serve a different purpose.
To personalize your drawer names, explore our set of eight Custom Magnetic Toolbox Labels. Check surface compatibility, dimensions, and the available customization options before ordering.
Already decided and want to set your drawer labeling system up properly from the start? This guide walks you through it: How to Label Toolbox Drawers the Right Way.