
If your power tools are scattered in a corner, slipping off shelves, or hidden under a mess of extension cords, it’s probably time for a better setup, and this guide will fix that.
- Step 1: Pull every tool out and lay them on a flat surface
- Step 2: Separate power tools from hand tools completely
- Step 3: Sort by how often you use each tool
- Step 4: Hang larger corded tools on a wall mount or pegboard
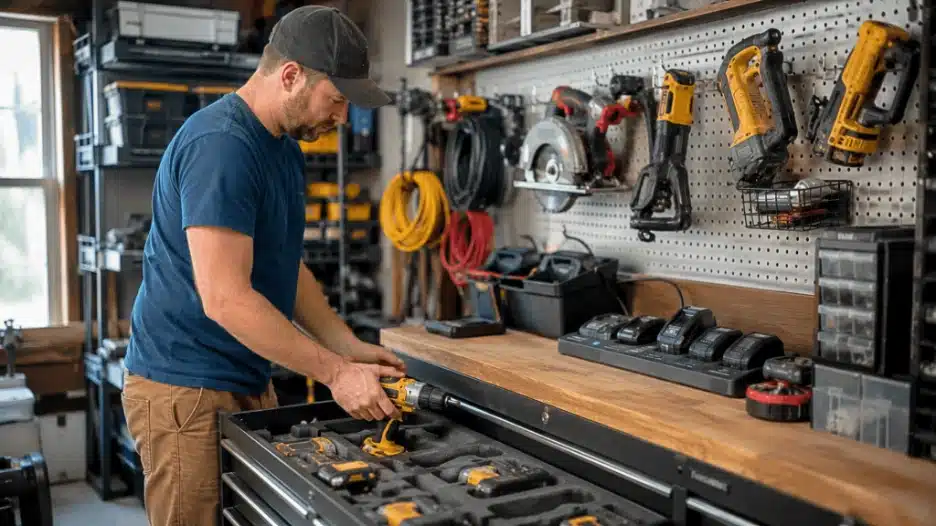
- Step 5: Use foam drawer inserts for cordless tool sets
- Step 6: Build one dedicated charging station and always use it
- Step 7: Store drill bits and accessories in the same zone as the tool
- Step 8: Cover all blades and bit tips before storing
- Step 9: Store batteries at 50 to 80 percent charge, not fully dead
- Step 10: Label every drawer and every wall zone
Here is exactly what each step looks like in practice, and why skipping any one of them is what causes the whole system to fall apart.
Step 1: Pull Everything Out First
You cannot organize what you cannot fully see.
Pull every power tool out of wherever it currently lives. Drills, circular saws, impact drivers, jigsaws, sanders, all of it. Lay everything on a flat surface at once.
This is the same first move that makes organizing your toolbox work, and it works here for the same reason.
You are not rearranging the mess. You are starting fresh with a clear picture of everything you actually own.
Step 2: Separate Power Tools From Hand Tools
Power tools have batteries that degrade, blades that need covering, and cords that need managing. Hand tools do not.
If your hand tools and sockets already have a home in your toolbox, your power tool storage should be its own separate layer built right alongside it, not stuffed inside the same drawers.
Step 3: Sort by How Often You Use Each Tool
Your cordless drill and impact driver are probably in your hands more than anything else you own. Those are your daily drivers, and they need the fastest access.
Your circular saw comes out a few times a month. Your reciprocating saw and heat gun may be used a few times a year.
The more often you reach for something, the closer it needs to be. That single rule drives everything else about where each tool ends up.
Step 4: Hang Larger Corded Tools on the Wall
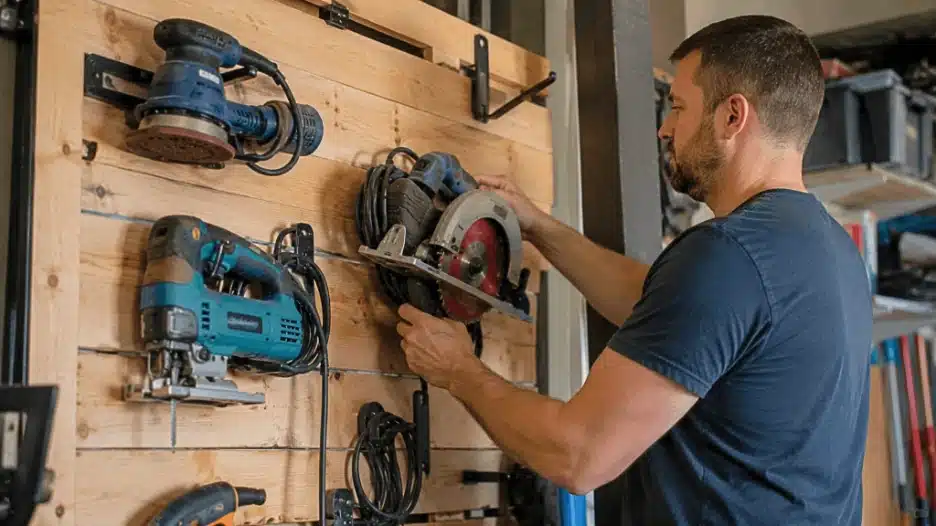
Circular saws, jigsaws, and sanders do not belong on the floor or the bench.
A pegboard wall, a French cleat system, or basic wall-mounted brackets keep them accessible without eating up your workspace.
When you are figuring out how to hang power tools in your garage, position them so blades and cutting edges face away from where you naturally reach.
A circular saw blade at waist height, pointing outward, is not a storage solution. It is a problem waiting to happen.
Step 5: Use Foam Drawer Inserts for Cordless Tool Sets
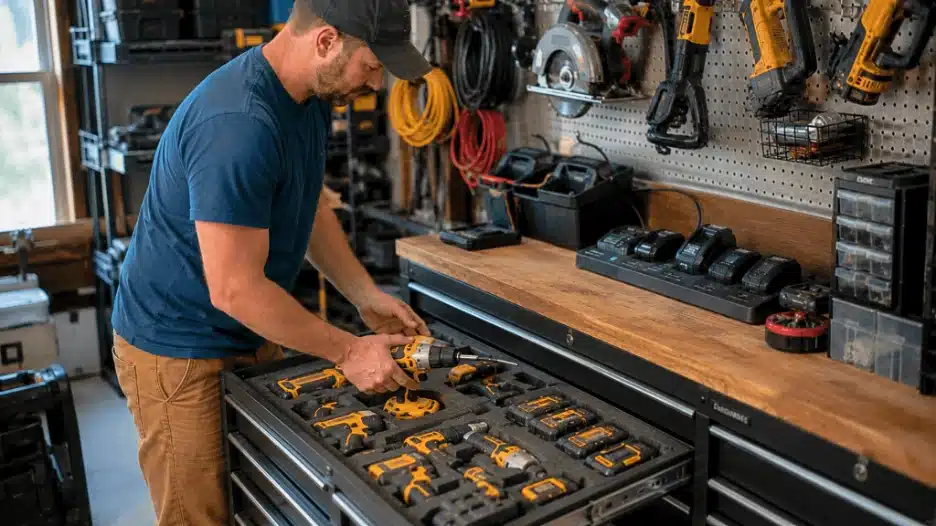
If you work within a single battery platform, this is one of the best ways to organize power tools.
A dedicated toolbox drawer with foam inserts cut to fit each tool means every drill has its own cutout, every battery has its slot, and you can tell at a glance what is missing or what needs charging.
It also keeps tools from knocking against each other every time a drawer opens, which matters more than most people think for motor and housing longevity.
Step 6: Build a Dedicated Charging Station
Pick one spot and commit to it. A shelf, a section of workbench, a wall-mounted bracket. Every charger lives there permanently. Batteries come off the tool, go to the station, charge, and go back. Not the floor. Not the nearest flat surface.
Most people do not know that Lithium-ion batteries, the kind in virtually every modern cordless tool, degrade significantly faster when stored fully discharged or left sitting somewhere hot.
A charging station away from direct sunlight and heat sources is not just tidier. It is genuinely extending the life of tools that cost real money.
Cordless tool storage done right always starts with getting the battery habits correct.
Step 7: Keep Accessories in the Same Zone as the Tool
Storing drill bits on the opposite side of the garage from the drill is not an organization system. It is just tidy clutter in two locations.
Keep every accessory physically close to the tool it belongs to.
An indexed bit case or a fabric bit roll stored in the same drawer or on the same shelf as the drill saves the mid-job walk every single time and keeps small accessories from disappearing into the general chaos of a garage shelf.
Step 8: Cover Blades and Bit Tips
Most tools ship with blade guards and covers for a reason.
An exposed jigsaw blade or an uncovered spade bit gets dull from contact with everything around it in storage, and it is genuinely dangerous to reach past.
If the original covers are long gone, a simple indexed case or bit roll for your bits does the same job and costs almost nothing.
Step 9: Store Batteries at the Right Charge Level
A fully dead battery sitting on a shelf for three weeks is losing capacity every single day.
Lithium-ion batteries stored at or near zero for extended periods lose capacity faster than those stored at around 50 to 80 percent.
Most modern chargers go into maintenance mode at full charge, which helps, but the better habit is to charge batteries on the same day you use a tool, not the night before you need it again.
Step 10: Label Every Drawer and Every Wall Zone

This is the step that decides whether this system lasts a month or lasts for years.
Without labels, the first time you are tired and just want to put something away quickly, it lands somewhere approximate. Then it happens again. Then the whole system quietly collapses, and three months later, you are digging through the same pile you started with.
Label each drawer with what lives there. Cordless Drills. Circular Saw. Sanders. Batteries 20V. Label the wall zones below each hook so it is obvious what is missing and where it belongs when it comes back.
Anyone who uses your garage understands the system without needing to be told.
Custom magnetic toolbox drawer labels are the cleanest way to handle the drawer side of this. They are printed with your exact text, available in multiple colour options so you can colour-code by tool type or battery voltage, and because they are magnetic, they reposition whenever your setup changes without leaving adhesive residue or peeling corners behind.
For a full comparison of label types before you commit to one, this guide on how to label toolbox drawers the right way covers everything you need.
And if you want to understand specifically why magnetic labels outlast adhesive ones in a garage environment, this post on printed magnetic labels for toolboxes makes a clear case.